
Take Control of the Case
Diagnosis, Imaging, and Appliance Selection
Hands-On Dental Course | Level 3
Understand how the patient got here, and know exactly what to do about it.
COURSE FULL
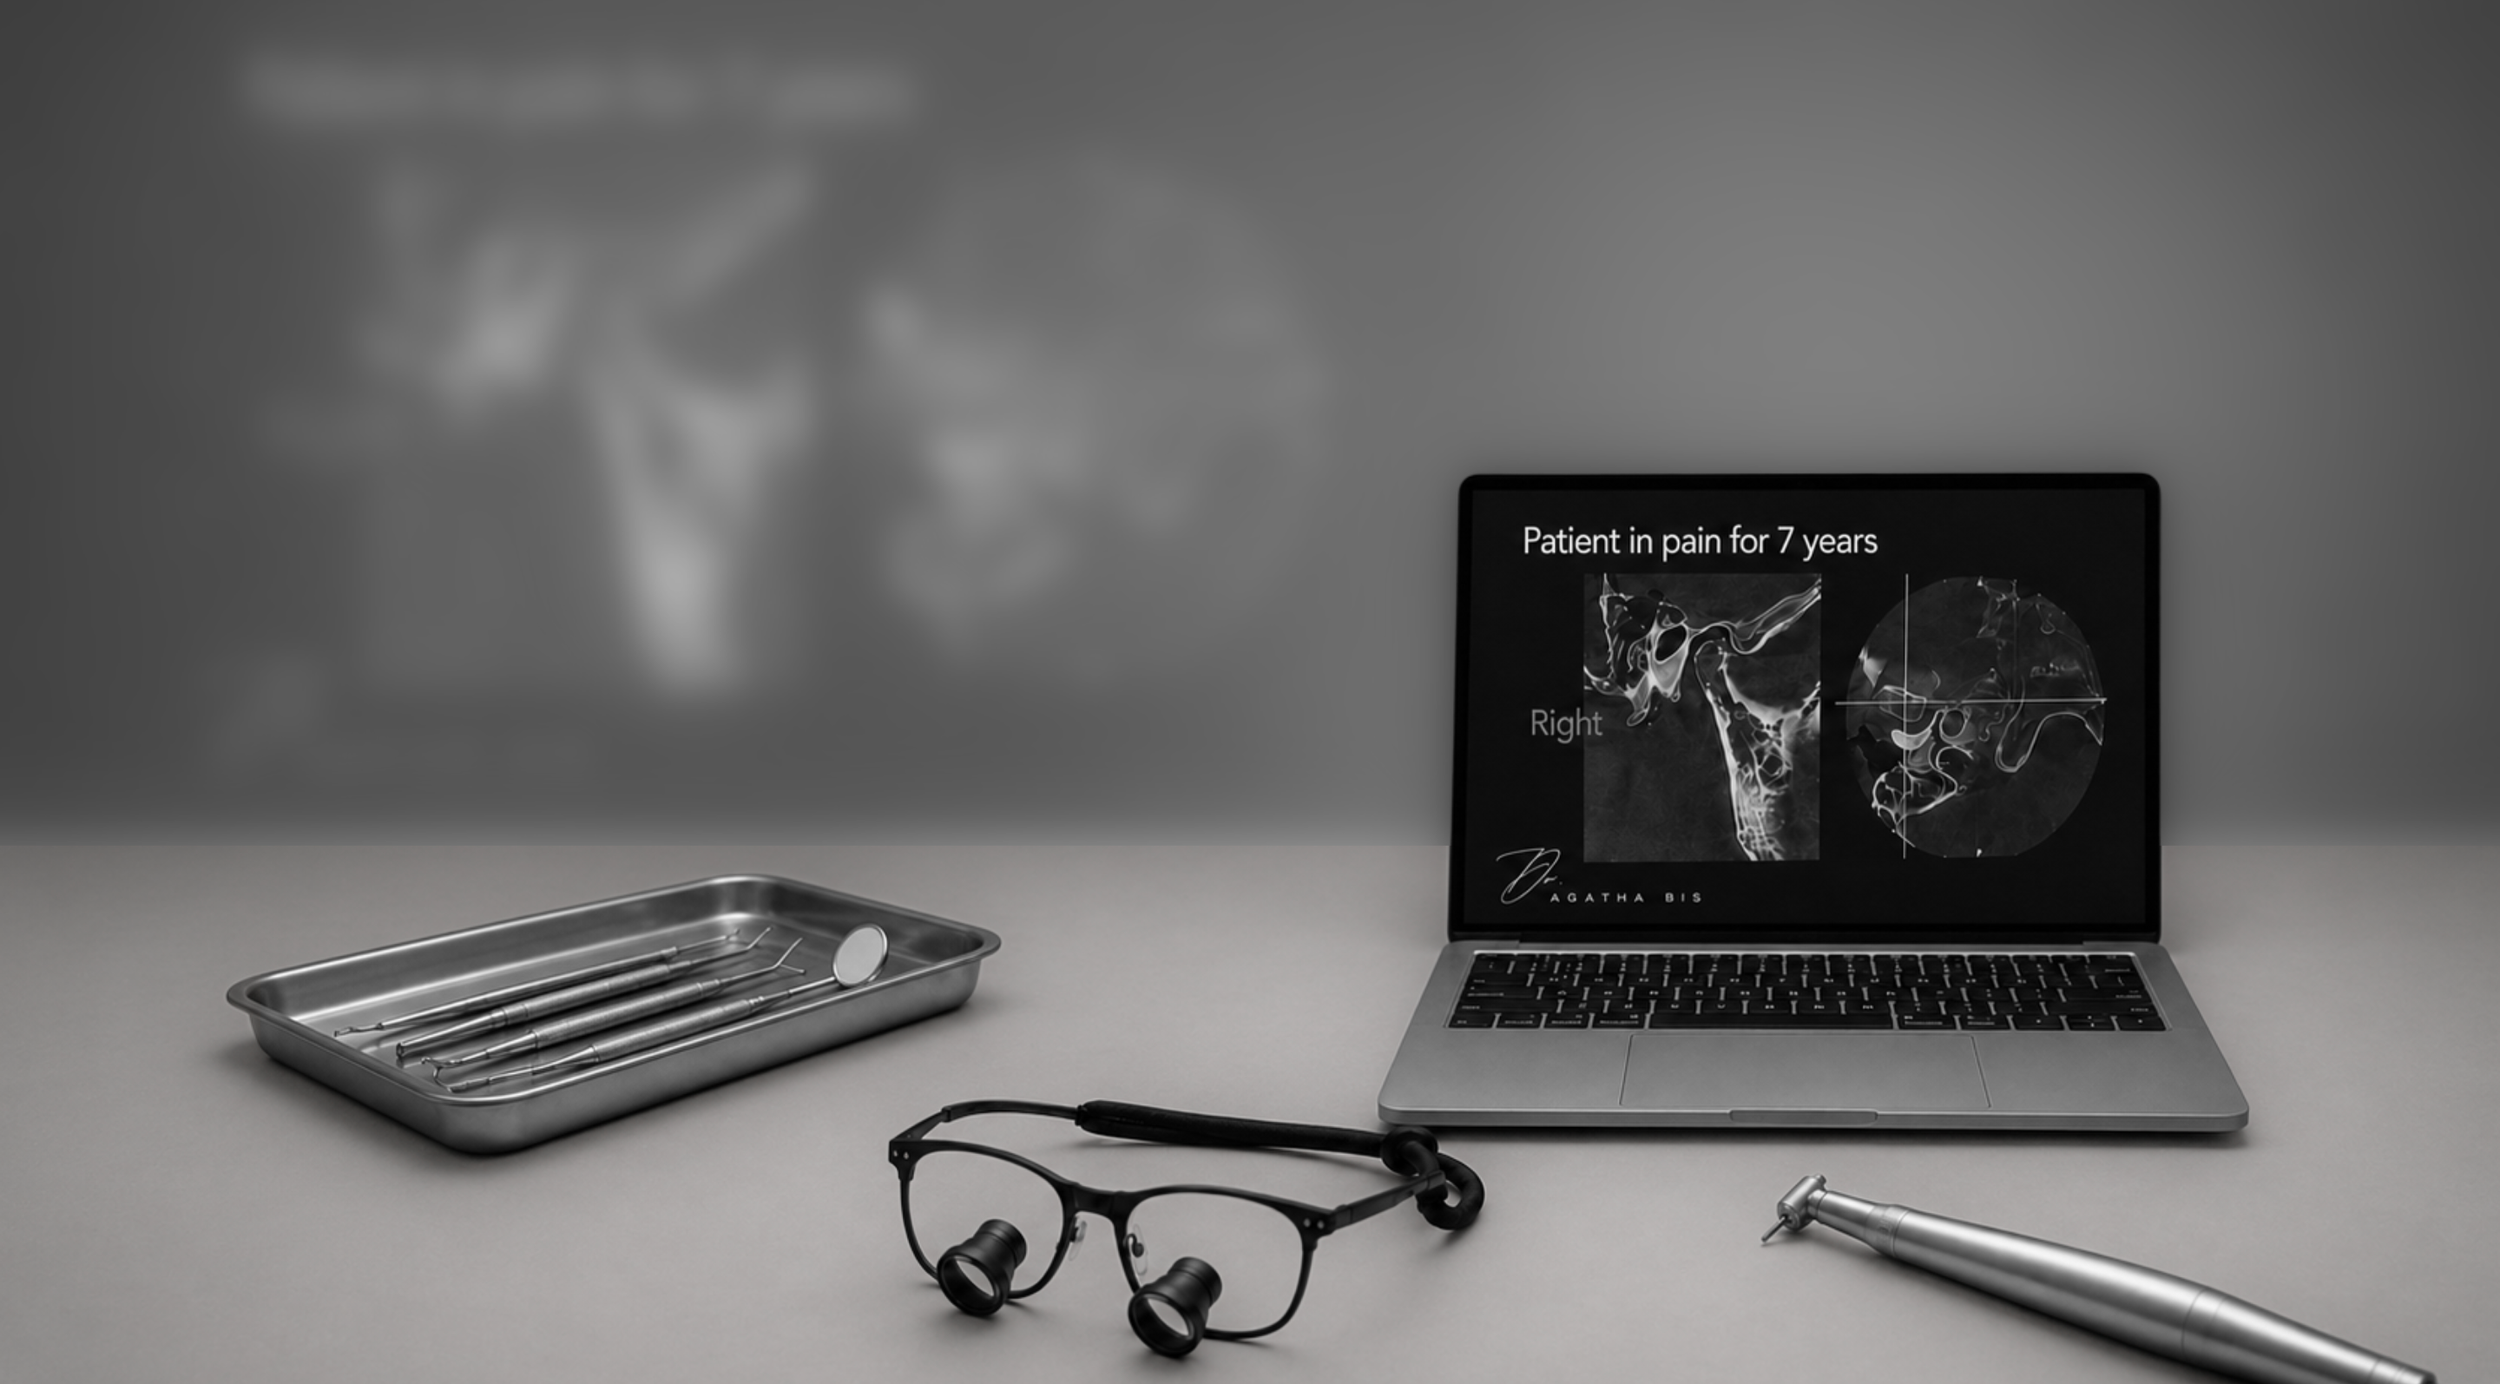
Level 3 goes deeper into the diagnosis itself. Before an appliance is chosen, the whole patient has to be read: not one finding at a time, but every sign the mouth and the imaging carry, assembled into an account of how the patient arrived at this condition. The appliance is the last decision in that process, not the first.
You will interpret vertical dimension, over-eruption, wear facets, abfractions, and gingival recession as related evidence of the same functional history. You will learn what the bone, the arch form, and the panoramic radiograph indicate, when a CBCT or an MRI is warranted, and what each of those images does and does not show. From that complete read you will determine the etiology, define what the appliance must correct, and select the appliance accordingly. Level 3 is the diagnostic foundation for the orthotic therapy delivered and adjusted in Level 4.
Learning objectives
Upon completion, participants will be able to:
Assess vertical dimension and classify it as lost, maintained, or altered, and identify the mechanism behind the change.
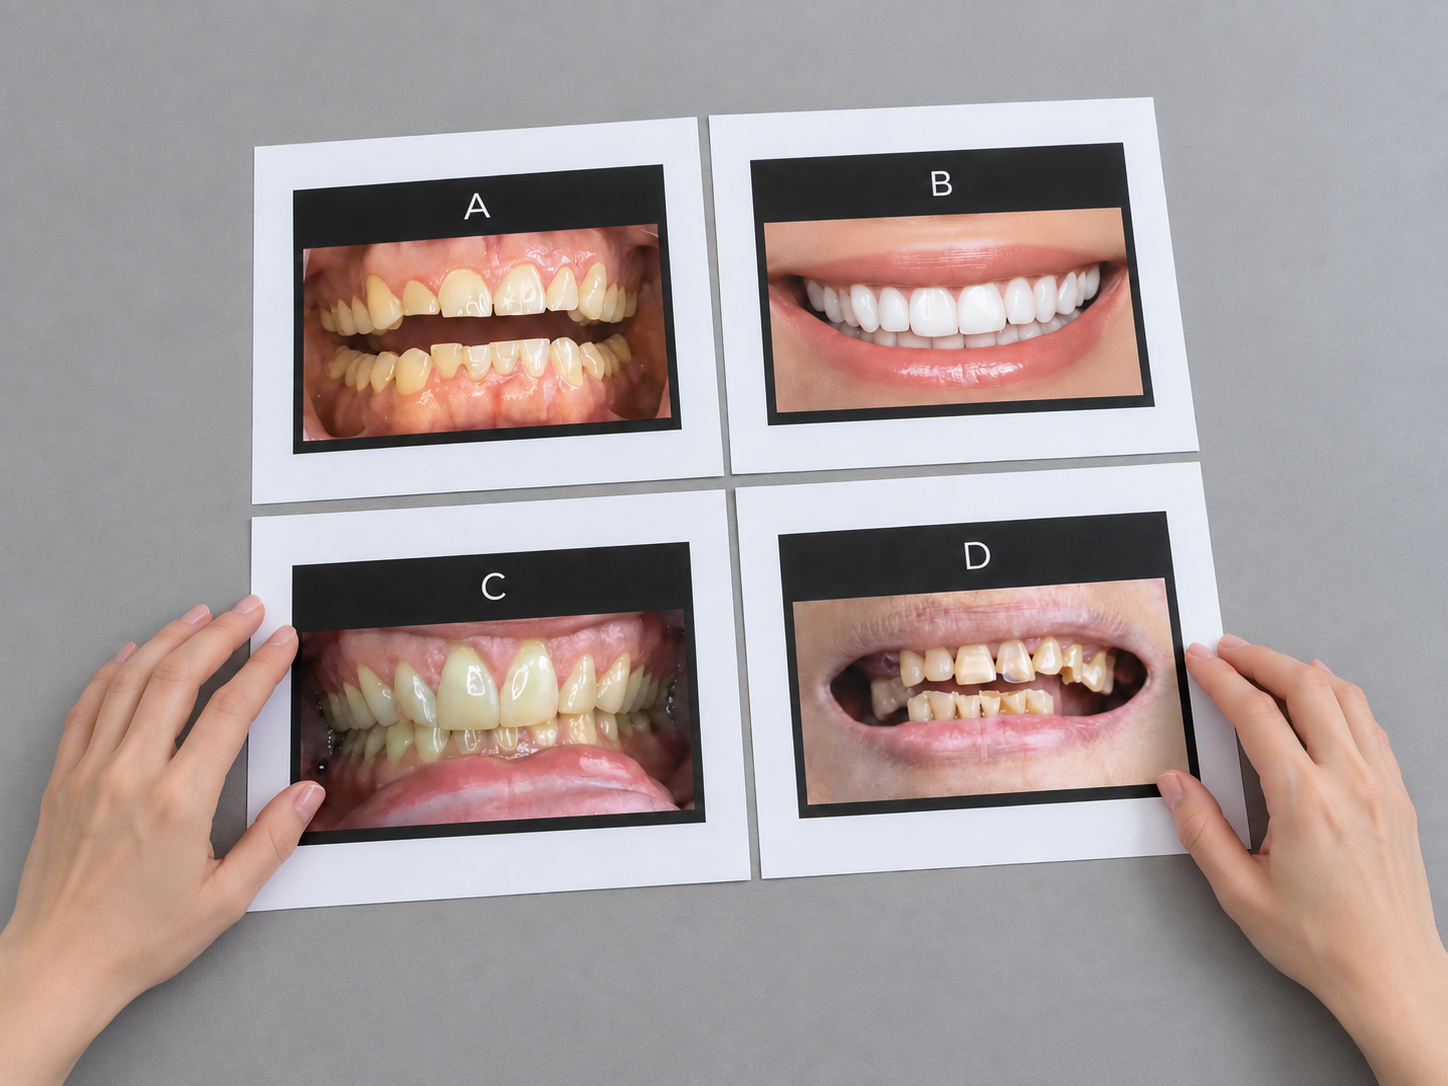
Read over-eruption, wear facets, craze lines, abfractions, fractured teeth and restorations, and gingival recession together as evidence of a shared functional history rather than as separate findings.
Interpret what alveolar bone, arch form, and arch size indicate about load, function, and stability.
Interpret the panoramic radiograph and identify the findings that call for advanced imaging.
State the indications for CBCT and MRI, and describe what each modality shows and does not show.
Interpret CBCT findings, including condylar morphology, and determine their effect on the treatment plan.
Construct an etiologic diagnosis that explains how the patient reached the current condition.
Define what the appliance must correct, in terms of vertical dimension, mandibular position, and condylar seat.
Select an appliance on the basis of the diagnosis, and justify the choice against the corrective objective.
Course details
Location: Smiles by Bis
710 Dorval Dr #220, Oakville, ON L6K 3V7
Date: January 15 - 16, 2027
CE Credits: 14 (6.75 lecture, 7.25 participation)
Dentist tuition: $2,995 CAD
Format: Two-day, in-person course
Class size: Limited to 16 participants
Participants: Dentists. This level is not open to hygienists or assistants.
Prerequisites: Levels 1 and 2 are recommended but not required.
Included: Breakfast and lunch both days, Day 1 reception, course materials, and the Appliance Selection Guide
Full refund less a $100 administrative fee more than 30 days before the course. 50% refund or one transfer 15 to 30 days before. No refund 14 days or less before; one transfer may be permitted.
Course content
-
Level 3 assembles the diagnosis from every available sign at once. A finding read in isolation misleads; the same finding read against the others explains the case. This level teaches you to read the mouth, the bone, and the imaging as a single body of evidence, and to hold the appliance decision until that reading is complete.
-
Vertical dimension is central to both diagnosis and appliance design, and it is frequently misjudged. This module teaches you to assess it, to classify it as lost, maintained, or altered, and to identify the mechanism behind the change. Lost vertical dimension and apparent loss are not the same, and the difference determines what the appliance must restore.
-
Teeth move when the forces on them change. Over-eruption, drifting, and the collapse of an unstable occlusion are signs of that movement. This module teaches you to recognize them and to read what they indicate about the stability of the occlusion and the space available for treatment.
-
These findings are routinely attributed to three separate causes: attrition, toothbrush abrasion, and clenching. Read together, they often describe a single functional problem. This module teaches you to interpret wear facets, craze lines, abfractions, pattern of chipping, and gingival recession as related evidence of load and parafunction, and to recognize when the conventional single-cause explanation is wrong.
-
Bone records the history of load, not only the history of hygiene. This module teaches you to read what alveolar bone morphology and level indicate about function, and what arch shape and size reveal about how the dentition developed and what will constrain treatment.
-
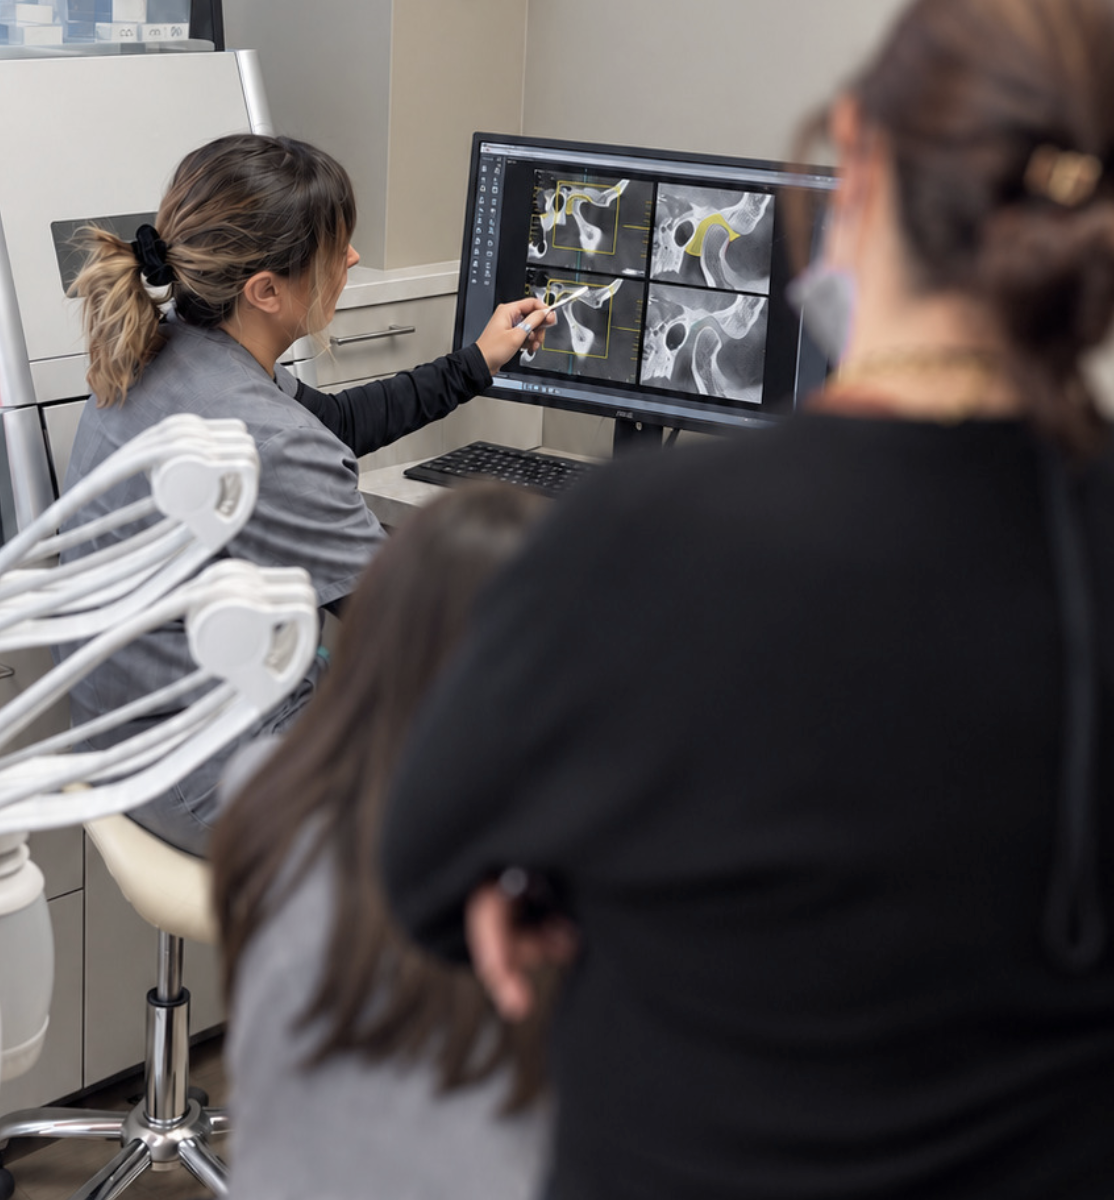
Each imaging modality answers a different question. The panoramic radiograph is a two-dimensional overview and a screening tool, with limits you must know. CBCT provides three-dimensional bony detail, including condylar morphology, but it does not show the disc. MRI shows the soft tissue, including disc position and displacement. This module teaches you when each is indicated, what each does and does not show, and what to do with the findings.
The cephalogram, introduced in Level 2, is applied here to the case: where the mandible sits, and how head position and cervical alignment act on it.
-
This module brings the signs and the images together into an account of how the patient reached the current condition: the sequence of events, the current mandibular and condylar position, and what must be corrected. This is the etiologic diagnosis, and it is what the appliance choice depends on.
-
The appliance is the last decision, made after the diagnosis is complete, not before. Teeth are the stops that set where the mandible closes and where the condyle seats; an appliance replaces those stops. Not every appliance moves the condyle. Some only separate or protect the teeth; some deprogram the muscles; the orthotic is the only device that moves the condyle in the corrective direction, toward the Optimal Physiologic Position the diagnosis defines. This module teaches you to state what the appliance must correct - the vertical, the mandibular position, the condylar seat - and to select the appliance that meets that objective, rather than defaulting to the appliance you already use.
Schedule
-
8:00–8:30am — Registration and breakfast
8:30–9:30am — Lecture: Where Level 3 sits: from the plan to the appliance. The complete diagnostic read. Vertical dimension: lost, maintained, or altered, and true loss versus apparent loss
9:30–10:30am — Breakout 1: Vertical dimension assessment in pairs
10:30–10:45am — Break
10:45–11:45am — Lecture: Over-eruption, drifting, and occlusal instability. Wear facets, craze lines, abfractions, chipping, and recession, read together
11:45am–12:30pm — Lecture: Bone, arch form, and arch size
12:30–1:30pm — Lunch
1:30–2:45pm — Breakout 2: Mapping wear, abfractions, over-eruption, and recession as one picture
2:45–3:00pm — Break
3:00–4:00pm — Breakout 3: Arch form and size evaluation
4:00–5:00pm — Day 1 review and questions
5:00–6:00pm — Cocktails and hors d'oeuvres
-
8:00–8:30am — Registration and breakfast
8:30–9:45am — Lecture: Panoramic, CBCT, and MRI: what each shows and does not show, and when each is indicated. The cephalogram applied to the case
9:45–11:00am — Breakout 4: CBCT interpretation, including condylar morphology
11:00–11:15am — Break
11:15am–12:00pm — Breakout 5: Imaging decisions: choosing panoramic, CBCT, ceph, or MRI, and defending the choice
12:00–12:45pm — Lecture: From signs to etiology. Constructing how the patient got here
12:45–1:45pm — Lunch
1:45–2:30pm — Lecture: Choosing the appliance: what the appliance must correct. The Appliance Selection Guide
2:30–3:15pm — Breakout 6: Etiologic diagnosis and appliance selection: matching the appliance to the corrective objective
3:15–3:30pm — Break
3:30–4:45pm — Review of cases submitted by attending dentists
4:45–5:00pm — Introduction to Level 4. Evaluations and certificates
Bring your own cases. Attending dentists may submit their own cases for review on Day 2. Instructions are sent after registration.
Hands-on exercises
Vertical dimension assessment
Mapping wear facets, abfractions, over-eruption, and recession as one picture
Arch form and size evaluation
Panoramic radiograph interpretation
CBCT interpretation, including condylar morphology
Ceph interpretation, including mandible position, and impact on head position and cervical alignment
Imaging-decision exercise: choosing panoramic, CBCT, Ceph, or MRI and defending it
Etiologic diagnosis workshop: constructing how the patient got here
Appliance-selection exercise: matching the appliance to the corrective objective
Your Monday-morning toolkit
Every level ends with a single-page tool you can apply the next working day. It is not a course summary. It is an instrument, built for chairside use by you and your team.
Level 3 - The Appliance Selection Guide.
A one-page decision aid that maps the diagnostic findings, vertical dimension, mandibular and condylar position, joint status, and occlusal stability, to the appliance indicated and the corrective objective it serves. It lets you move from a completed diagnosis to a defensible appliance choice, and to state why that appliance and not another.
The economics of a complete diagnosis
Level 3 determines the appliance the case requires and the imaging the diagnosis justifies. Both decisions carry a cost when they are made without the full picture. Three drivers follow from the material.
The right appliance, chosen once. An appliance selected without the complete diagnosis may not correct the problem. It is then remade or abandoned, at the patient's expense and yours. A choice made from a full diagnostic read is delivered once, not remade.
Imaging ordered when it changes the plan. Knowing when a CBCT or MRI is indicated, and when it is not, means you neither miss the findings that alter treatment nor add cost that returns nothing. The imaging you take is justified, documented, and used.
Etiology the patient understands supports the largest cases you treat. Orthotic therapy followed by Phase 2 is among the highest-value treatment a general practice delivers. When the patient understands how they arrived at their condition, that treatment is accepted on its merits.
Connect the
findings first
Level 3 brings the clinical signs, imaging, vertical dimension, joint findings, and functional history together so you can understand how the patient got here, what needs to be corrected, and which treatment approach is appropriate.
New to the Hands-On Series? Start with Level 1 to build the diagnostic foundation first.
Bridge to Level 4
Level 3 completes the diagnosis and selects the appliance. Level 4 delivers and adjusts the orthotic - Phase 1 therapy - and manages the movement of the mandible to the corrected position. The pathway then continues to Phase 2, the finalization that follows orthotic therapy, and to the management of complex cases.
Have a question before registering?
Not sure which level is right for you, or what to expect? Send us your question and our team will get back to you.

About the instructor
Dr. Agatha Bis has spent nearly 30 years treating complex cases in private practice with a clinical focus on TMJ disorders, occlusion, restorative dentistry, and the systems that make treatment more predictable. She is also the founder of TMJ Whisperer Academy, an educational platform built for dentists who want to understand cases more clearly, diagnose with more confidence, and practice with more control.