
Hands-On Dental Course | Level 2
The Pattern Behind the Breakdown
Occlusion, Function, and the Comprehensive Plan
Read the wear, the force, and the joint as one pattern, and the plan follows.
Level 2 is where the findings become a diagnosis and the diagnosis becomes a plan. Level 1 taught you to gather and assemble the records. Level 2 teaches you to read it, and specifically to read occlusion as the functional system it is, because that is where most diagnoses stop short.
You will interpret wear facets by angle and pattern, determine how occlusal force is distributed and where it concentrates, and recognize the functional risk that predicts which restorations will fail and when. From that reading you will construct a treatment plan that addresses the cause rather than the presenting tooth, sequence it correctly, and explain to the patient why a single crown will not solve a problem the whole system produced. This level also introduces temporomandibular disorder and the role of appliances, establishing the mechanism that the later levels build on.
Learning objectives
Upon completion, participants will be able to:
Analyze functional occlusion and identify the occlusal factors that determine diagnosis and prognosis.
Interpret wear facets by angle, pattern, and location, and state what each indicates about function and force.
Evaluate how occlusal force is distributed across the arch and identify points of harmful concentration.
Apply force-management principles so that restorative work withstands the functional load placed on it.
Recognize the signs of temporomandibular disorder and assess temporomandibular joint health.
Describe the mechanism linking mandibular position, condylar seating, and disc position, and the role of an appliance within it.
Determine when a frontal and/or lateral cephalogram is indicated and reasons behind the choice of view
Interpret craniocervical angulation, cervical curvature, hyoid position, and posterior airway on a frontal and lateral cephalogram, and state how each acts on mandibular position and on the records taken.
Synthesize the Level 1 records and examination with the occlusal findings into a complete diagnosis and a sequenced treatment plan.
Explain to a patient why isolated single-unit treatment is inadequate when multiple functional factors are present.
Course details
Location: Smiles by Bis
710 Dorval Dr #220, Oakville, ON L6K 3V7
Date: February 19 - 20, 2027
CE Credits: 14
Dentist tuition: $2,995 CAD
Hygienist or assistant: $980
Format: Two-day, in-person course
Course content
-
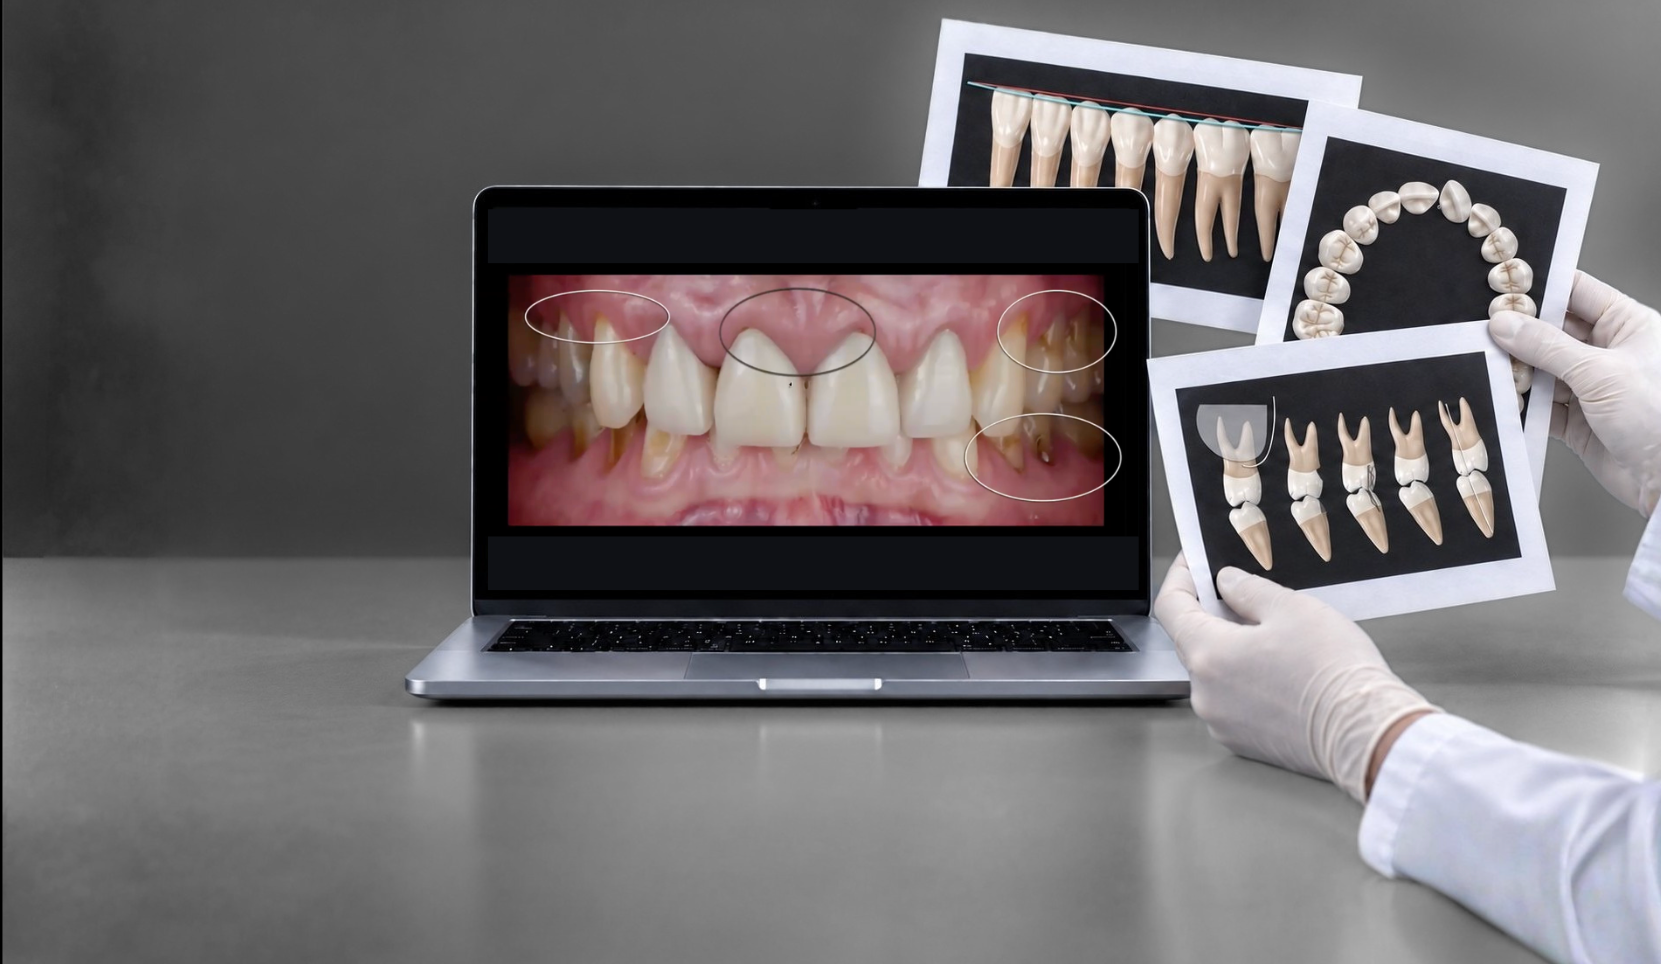
Level 2 treats occlusion as a functional system, not a static contact pattern. You will learn to read occlusion in function: the contacts that guide the mandible, the interferences that redirect it, and the relationship between where the teeth meet and where the condyle seats. A diagnosis that omits the occlusion is incomplete, and a treatment plan built on an incomplete diagnosis moves in the wrong direction.
-
Wear facets are a physical record of how the mandible has moved and where force has been applied. Their angle, pattern, and location indicate the path of function and the sites of concentrated load. This module teaches you to read facets in detail: what a given angle indicates, what a pattern reveals about parafunction, and what both mean for the prognosis of any restoration placed into that environment.
-
Restorative work fails when it is loaded in ways it cannot withstand. This module teaches you to distribute occlusal force correctly across the arch, to identify where force concentrates, and to design treatment that manages that load so the dentistry lasts.
-
This module introduces the mechanism behind temporomandibular disorder. Mandibular retrusion leads to condylar distalization, which produces retrodiscal compression and, in turn, disc displacement. Understanding this chain is what allows you to connect a patient's occlusal findings to their joint symptoms rather than treating the two as separate problems.
This module teaches a second reading of the film. Four findings are covered in detail: condylar form and cortical integrity, vertical symmetry of the condyle–ramus unit, antegonial morphology, and the load signature written into the teeth and alveolar bone. Each is tied to the mechanism that produced it and to the clinical decision it changes.
The module also defines the limits of the image. A panoramic radiograph cannot show disc position and cannot establish condylar position or 3-dimensional shape in the fossa. It raises suspicion and directs further imaging. It does not exclude joint disease. Participants learn which findings warrant CBCT, which warrant MRI, and which warrant neither.
-
You will learn to assess the health of the temporomandibular joint, recognize the signs that indicate dysfunction, and identify what is required to maintain joint health once treatment begins. This establishes the baseline against which appliance therapy and later treatment are measured.
-
Level 1 established the panoramic radiograph as a record of how the system has been loaded. Level 2 adds the second image and a different question. The panoramic film shows what the load has done. The cephalogram shows the skeletal pattern the occlusion sits in, and the position of the head on the neck at the moment of exposure.
The cephalogram is not a routine record. This module defines the specific indications that justify the exposure, and the protocol that must be followed before the image can answer a postural question. Head position is the controlling variable. An image taken with the head positioned by the cephalostat answers skeletal questions and no postural ones, which is the most common error in how these films are taken.
The interpretation covers craniocervical angulation, cervical curvature, hyoid position, posterior airway, and the sagittal and vertical skeletal relationships, and then connects them to the mandible. The mandible has no fixed skeletal support below. It is suspended between the elevator group above and the suprahyoid and infrahyoid groups below, and the hyoid is anchored downward to the shoulder girdle. Head extension and forward head carriage change the length and direction of pull of that lower group and add a posterior and inferior vector on the mandible. Rest position and the path of closure move with it.
-
An appliance works by changing where and how the mandible closes. Teeth are the stops that set where the mandible closes and where the condyle seats; an appliance replaces those stops. The orthotic is the only device that moves the condyle in the corrective direction. This module introduces that principle and the place of the appliance within the treatment sequence. Appliance design and delivery are developed in the level that follows.
-
This module brings the findings together. You will construct the diagnosis from everything gathered: the history and records from Level 1, the comprehensive examination, and the occlusal and functional findings you learn here. You will establish the sequence — what happened, in what order, and what will happen next if the cause is left uncorrected. From that, you will build a treatment plan that addresses the whole system rather than the presenting tooth, sequence it correctly, and communicate it to the patient so that comprehensive treatment is understood and accepted. The plan also accounts for maintenance: what to do to manage and reduce future breakdown once active treatment is complete.
Hands-on practical exercises
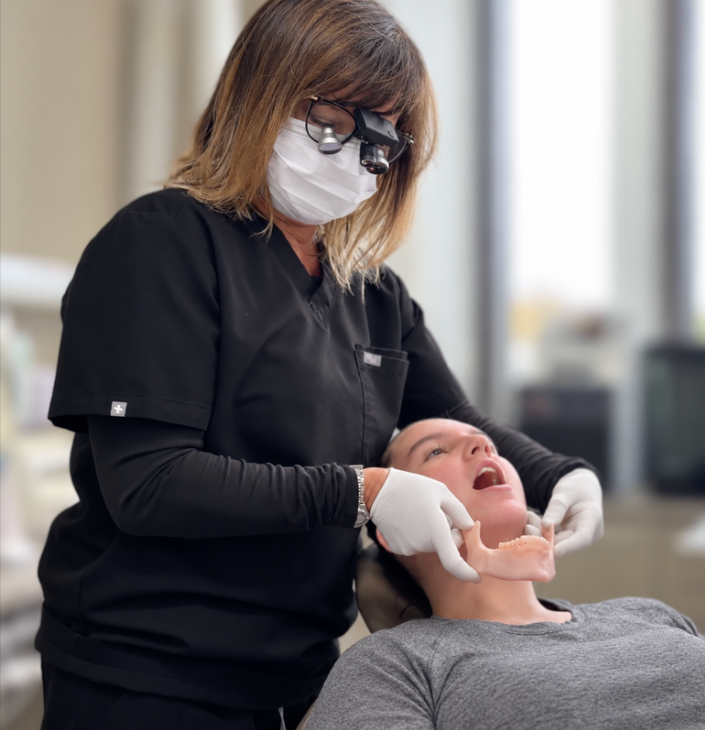
Mandibular position assessment
Bite registration
Imaging workshop: lateral cephalometric interpretation, head position and tipping, craniocervical angulation, cervical curvature, hyoid position, and posterior airway
Digital scanning
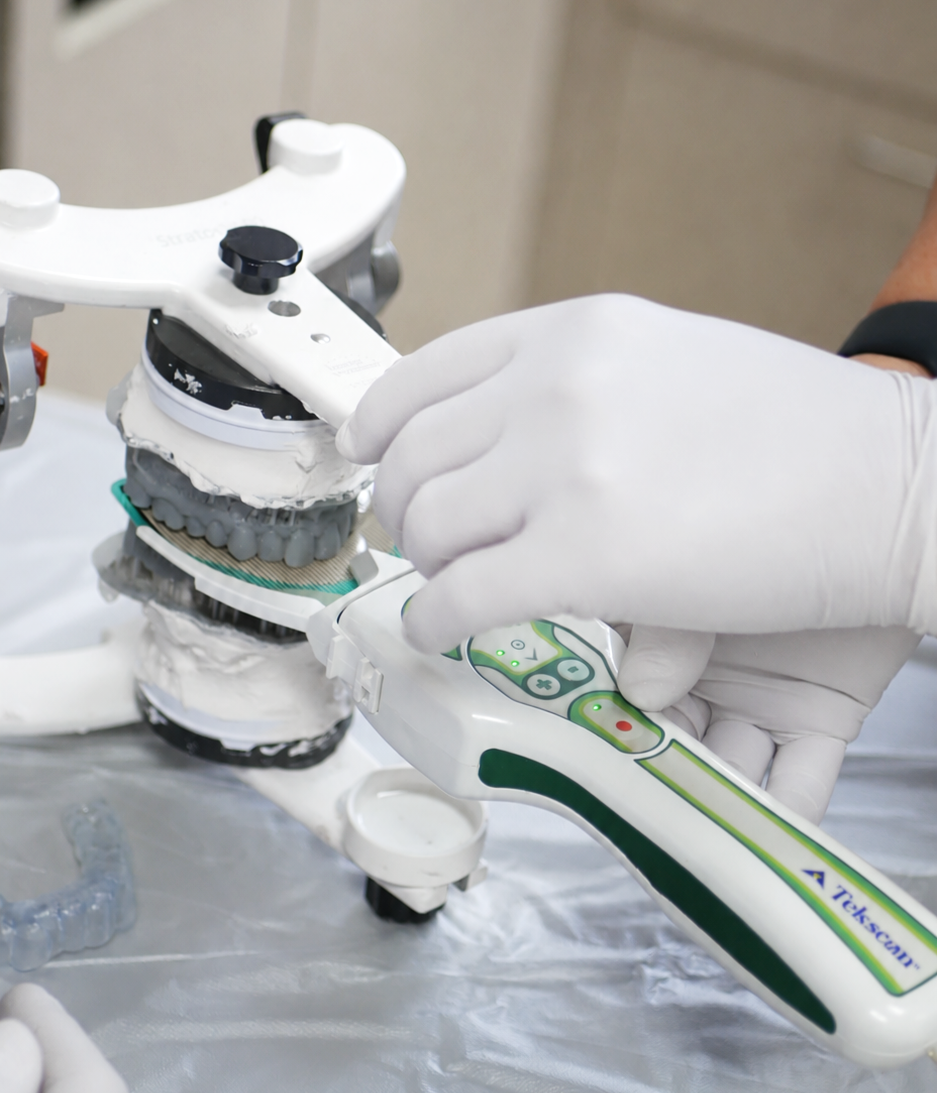
Occlusal force analysis with TScan
Wear facet mapping and interpretation
Range of motion and temporomandibular joint health assessment
Case assessment on 3D-printed models
Treatment planning and sequencing workshop
Presenting comprehensive treatment: patient communication role-play
Your Monday-morning toolkit
Every level ends with a single-page tool you can apply the next working day. It is not a course summary. It is an instrument, built for chairside use by you and your team.
Level 2 - The Treatment-Planning Flowchart.
A one-page decision flowchart that takes you from the completed findings to the treatment you present. It moves through a sequence of branch points, localized problem or systemic, joint involvement present or absent, occlusion stable or unstable, mandibular position correct or not, and resolves to a clear recommendation: single-unit repair, comprehensive restorative treatment, Phase 1 appliance therapy first, or referral. It gives you a repeatable way to decide what to present and the reasoning to defend it.

Bringing a team member
This course is open to team members. The protocols in this level are taught to be executed by the team, not the dentist alone: records, photography, digital scanning, occlusal analysis, and the setup that supports case presentation. When your team member learns them beside you, the workflow is adopted the week you return, rather than taught secondhand and lost. The most common reason continuing education does not change a practice is that the team never trained on it.
The economics of comprehensive treatment
Level 1 links accurate diagnosis to higher-value, correctly indicated treatment. Level 2 turns that diagnosis into a comprehensive plan and protects the result once it is in the mouth. Three drivers follow from the material.
Comprehensive treatment, completed together, serves the patient and the practice. Treating the whole system in a coordinated sequence, rather than one tooth per visit over years, gives the patient a better outcome, a predictable cost, and fewer separate appointments. For the practice, the same patient is more productive: more treatment is diagnosed, presented, and completed, and the schedule fills with planned comprehensive work instead of reactive single visits.
Dentistry that lasts protects the work you have already been paid for. Restorations loaded beyond what they can withstand are redone at your cost, in your chair, against your reputation. Force management converts remakes and repeated adjustments into cases that hold.
Fewer emergencies, fewer surprises. Identifying and addressing functional risk reduces the unscheduled failures that disrupt the schedule and erode patient trust.
Ready to turn the diagnosis into a plan?
Level 2 builds on the diagnostic foundation of Level 1, helping you connect occlusion, force, wear, and joint findings into a comprehensive treatment plan.
New to the Hands-On Series? Start with Level 1 to build the diagnostic foundation first.
Bridge to Level 3
Level 2 introduces the appliance and the mechanism behind it. Level 3 develops appliance therapy in full: design, delivery, and the corrective repositioning of the mandible that Phase 1 treatment depends on.
Have a question before registering?
Not sure which level is right for you, what to expect, or whether you should bring a team member? Send us your question and our team will get back to you.

About the instructor
Dr. Agatha Bis has spent nearly 30 years treating complex cases in private practice with a clinical focus on TMJ disorders, occlusion, restorative dentistry, and the systems that make treatment more predictable. She is also the founder of TMJ Whisperer Academy, an educational platform built for dentists who want to understand cases more clearly, diagnose with more confidence, and practice with more control.