
Online course · 1 AGD PACE CE credit
The sign was there before the symptoms.
Eight early clinical signs that change what you do next. Before the crown, the aligner, the appliance, the veneer and the implant.
Lesson 1 · The crown that revealed it
A single posterior crown. Clean prep. Acceptable fit.
Within a week the patient has jaw pain, clicking and headaches, all on one side. The radiographs are unremarkable. Nothing explains it.
- Before the prep
The mandibular midline is visibly shifted. It is charted as cosmetic, or not at all.
- Day 1
The crown is seated. The bite feels high and is adjusted.
- Week 1
One of the few teeth holding the bite no longer holds it. The muscles contract to find contact.
- Week 2
The mandible retrudes. The condyle distalizes, the retrodiscal tissue is compressed, the disc displaces.
- After
Pain, clicking, headaches, and a patient asking what happened.
The crown did not create the problem. It revealed it.
The sign was in the chair before the handpiece was. Most of what goes wrong after technically correct dentistry was visible in advance: a midline shift, a wear facet, one tooth with bone loss in a healthy mouth.
The Clinical Lens teaches you to read those signs before treatment commits you.
What changes
When you know what you are looking at, dentistry gets quieter.
The procedures stay the same. What you check before them changes, and so do the conversations.
Check which teeth hold the bite
Shimstock on each posterior tooth in MIP, before you remove a stop.
Read the direction of wear
Directional wear is the mandible escaping retrusion. A guard that holds it back adds compression.
Look for the force first
Isolated bone loss in a healthy mouth points to non-axial load, not only inflammation.
Don’t restore in MIP
Missing posterior support leaves the mandible retruded. Restoring there locks the dysfunction in.
Curriculum · Eight lessons
One sign per lesson.
One decision it changes.
Each lesson is built on a case from Dr. Bis’s practice. About an hour of video in total.
A mandible that lives off-centre is not neutral. The system has already compensated.
Decision: is this really a single-tooth problem?
Only a few posterior teeth hold the bite. The tooth you plan to restore may be one of them.
Decision: proceed, or stabilize the bite first.
Isolated bone loss in a healthy mouth points to non-axial load, not only inflammation.
Decision: correct the occlusion before you graft.
Lateral and protrusive wear is the mandible escaping retrusion, not random grinding.
Decision: which appliance, built to which position.
Lingually inclined posterior teeth restrict lateral movement and load the muscles.
Decision: why the headache patient has no dental complaint.
Veneers chip, stain and debond when anterior guidance restricts a retruded mandible.
Decision: establish position before restoring anteriors.
Without posterior support the mandible retrudes, the tongue follows, and the airway narrows.
Decision: read the airway as part of the occlusal diagnosis.
Lost support and an over-erupted 16 leave the mandible retruded and the occlusion unstable.
Decision: don’t restore in MIP until the position is stable.
Your Monday-morning toolkit
Eight Chairside Essentials cards.
One page per sign, built for the operatory.
Print it, pin it, hand it to your team.
This is the card from Lesson 2.
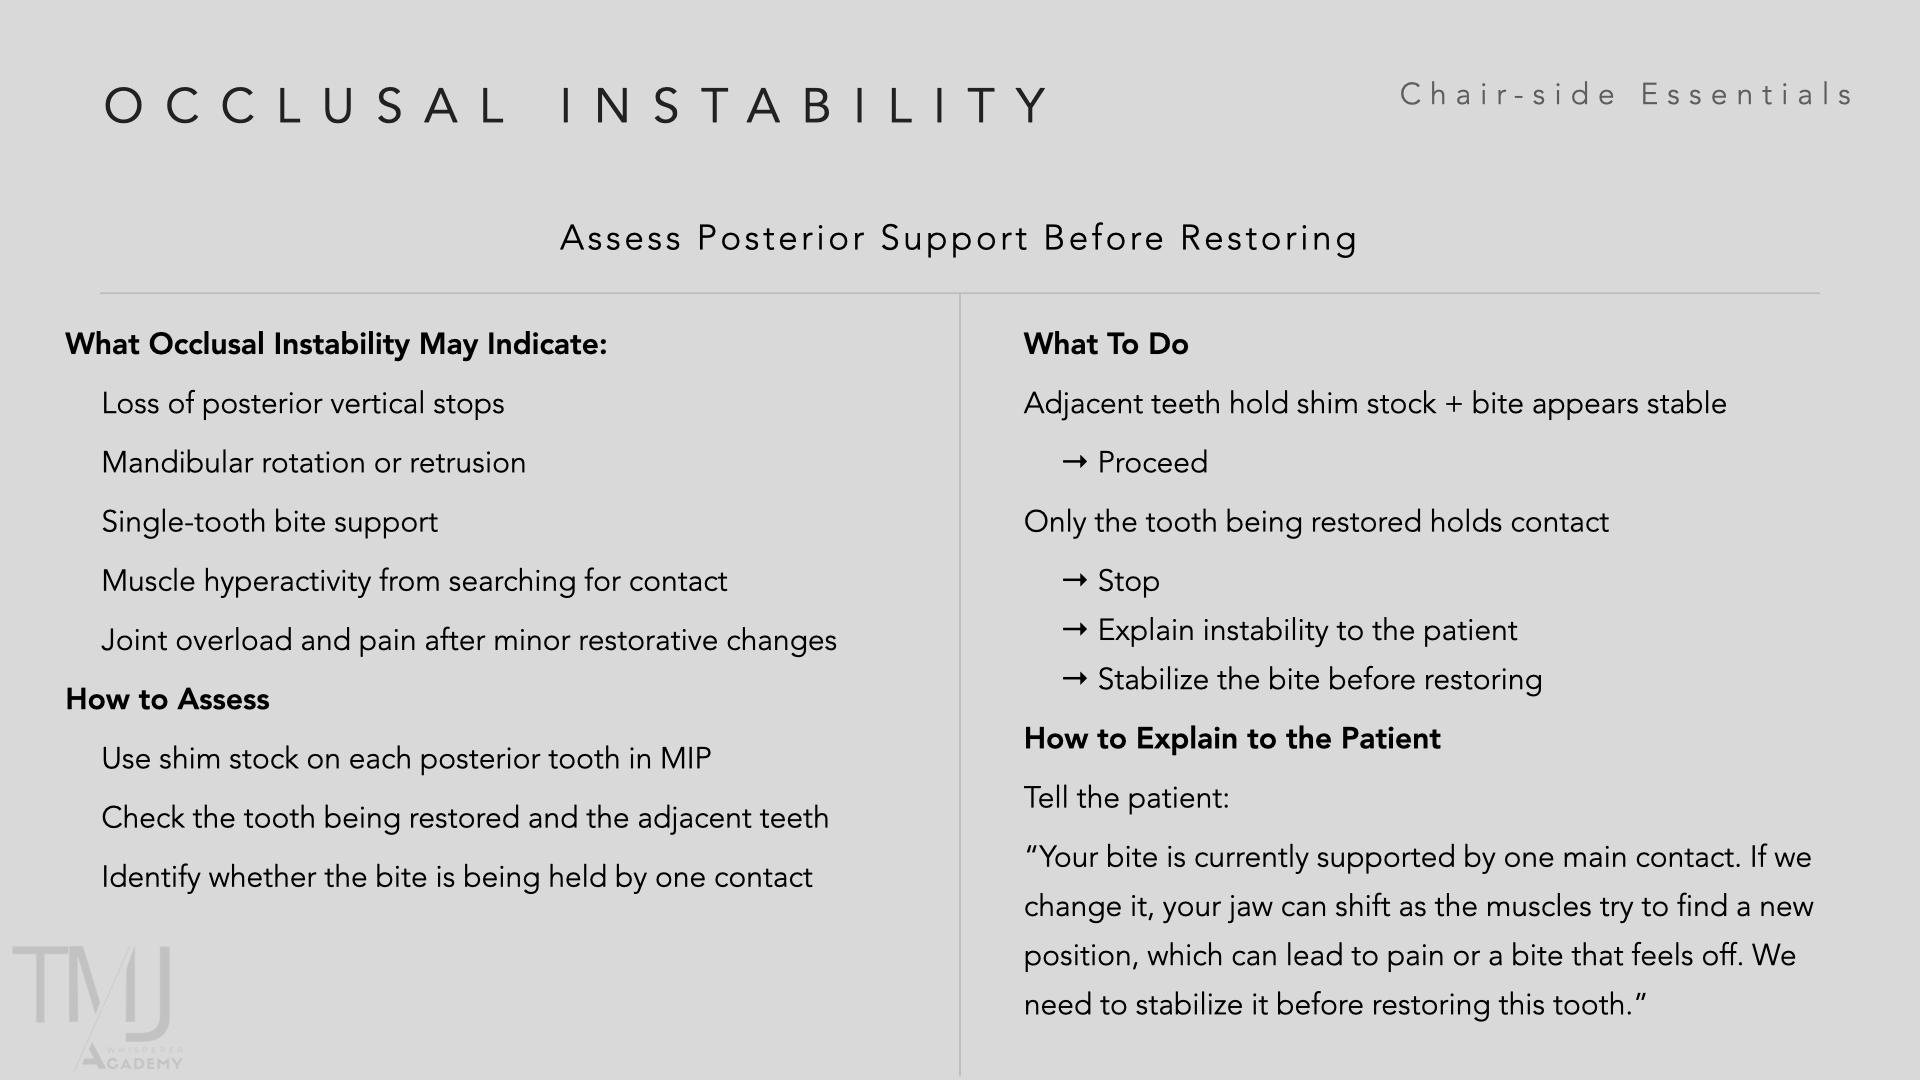
What the sign may mean for the system.
The chairside test, step by step.
Proceed, or stop and stabilize.
The words for the patient.
Explain it before the prep, not after
“Only a few of your back teeth are holding your bite. This tooth is one of them. Before we change it, we need to talk about how your jaw is supported.”
Patient language from Lesson 2
What dentists say
Who it is for
- General dentists who prep crowns, place aligners, make nightguards or restore implants
- Early-career dentists who want a framework before their first difficult case
- Experienced dentists who have had a case go wrong after technically correct treatment
- Dentists who want a starting point before a comprehensive TMJ course
What this is not
Not a comprehensive TMJ course. Not a full occlusion curriculum.
It is the starting point: the smallest complete set of signs you need to see differently.
“The treatment was correct. Something still did not feel right.”
If you have thought this, the course is for you.
Learning objectives
After this course, you will be able to:
- Recognize eight early signs of functional instability, from midline deviation to missing posterior support.
- Explain the mechanism linking each sign to mandibular retrusion, joint loading and muscle activity.
- Assess posterior support with shimstock in MIP before restorative treatment.
- Determine when to proceed and when to stabilize mandibular position before restorative, orthodontic, appliance or implant treatment.
- Explain each finding to patients in plain language.
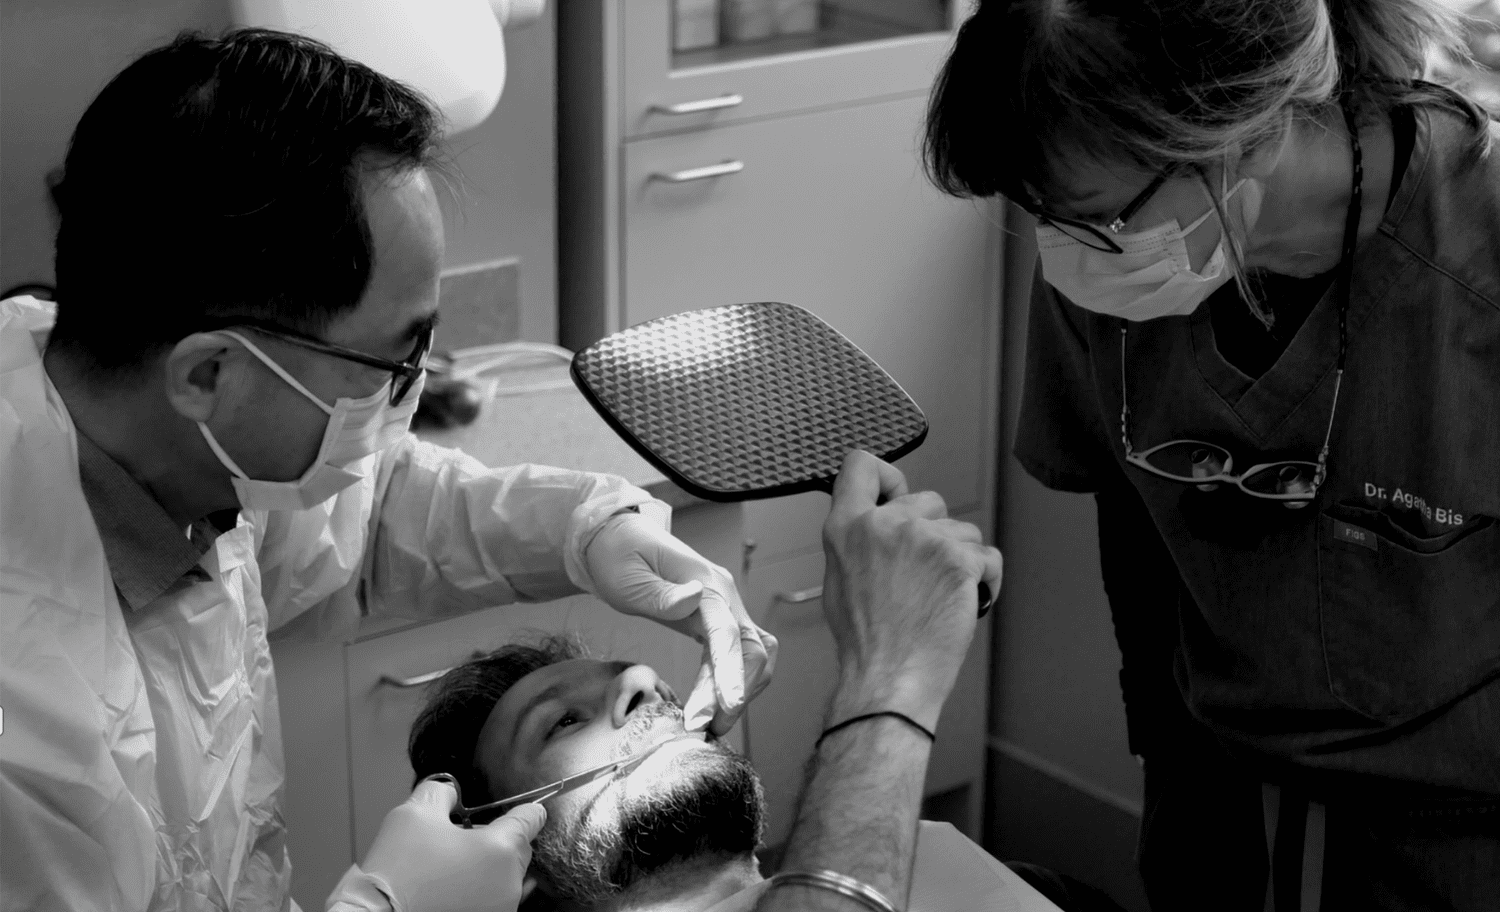
Taught by
Dr. Agatha Bis
The Clinical Lens comes from more than 30 years of treating patients whose symptoms, restorative complications and functional problems did not fit the obvious explanation. Every case in the course is from her practice.
Her principle: before deciding what to treat, the dentist must understand what they are seeing.
- Practice30+ years · Principal dentist, Smiles by Bis, Oakville
- FocusTMJ, occlusion, function, complex treatment planning
- AcademyFounder, TMJ Whisperer Academy · AGD PACE provider
One remade restoration or one failed appliance costs more chair time than this course.
US$595 · 1 AGD PACE CE credit · Eight chairside cards
Enroll nowEnrollment and course details
The Clinical Lens: First Signs
Full refund within 14 days of purchase if no more than one lesson has been viewed.
- FormatOnline, self-paced video lessons
- Lessons8 lessons, 5 to 11 minutes each, about one hour in total
- Included8 Chairside Essentials cards and a quiz after each lesson
- Access12 months from purchase, immediate start
- CE credit1 hour, self-instruction · AGD subject code 180, Myofascial Pain/Occlusion
- CertificateIssued by our team once all eight quizzes are complete
- AudienceGeneral dentists. No prior TMJ training required.

A focused eight-part series for dentists who want fewer surprises, clearer decisions, and a more predictable start to treatment.
The next step
The Clinical Lens is where the pathway starts.
TMJ Essentials and the hands-on orthotic course build on the same framework, from recognizing the sign to treating the system.
Questions
Before you enroll
How long is each lesson?
5 to 11 minutes. About an hour of video in total, plus eight one-page cards.
How many CE credits?
1 hour AGD PACE self-instruction credit, subject code 180.
How do I receive my CE certificate?
Complete the quiz after each lesson. Your certificate is issued by our team once all eight are complete.
How long do I have access?
12 months from purchase.
Do I need TMJ training first?
No. The course assumes general dental training only.
Is it relevant if I don’t treat TMJ?
Yes. The signs matter most before crowns, aligners, appliances, veneers and implants.
What is the refund policy?
Full refund within 14 days of purchase if no more than one lesson has been viewed.
When you know what you are looking at, dentistry gets quieter.
1 AGD PACE CE credit · Self-paced · 12 months access